Add twitter Page to storefries:
In this, we'll guide you through the simple steps to connect your own Twitter Custom App and unlock its full functionality. By following these instructions, you'll be able to post, track engagements, and manage your Twitter presence seamlessly.
Step 1: Create a New Twitter App
- Go to https://developer.twitter.com
- Sign in with your Twitter account.
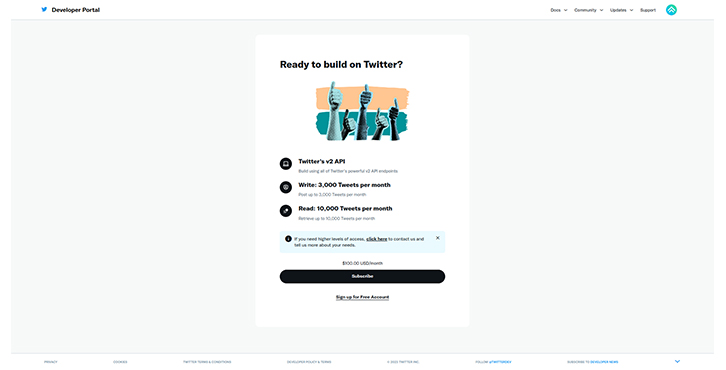
- Click on the "Developer Portal" button in the top right corner.
- Choose to subscribe to a paid plan or sign up for a free account (for this example, we'll use the free plan).
- Fill out the developer agreement form, describing the use cases for your application. For example, if you're using Storefries, you might need to schedule and publish tweets, track mentions, reply to comments, monitor engagement, view analytics and manage your social inbox.
- Click on "Submit!" Most of the time, you'll get instant access to the developer portal.

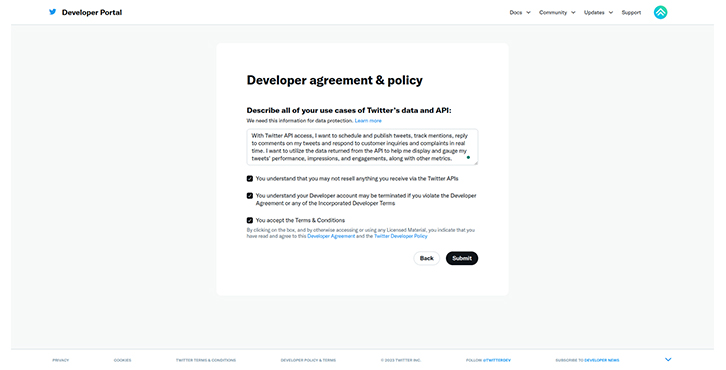
Here is a sample text to give an idea of what the description would look like.
I want to use Twitter's API to do a few things: schedule and post tweets, keep track of mentions, reply to comments on my tweets, and respond quickly to customer messages and complaints. The API will also provide data that will help me see how well my tweets are doing, including metrics like impressions and engagements.
Step 2: Set Up Your New Twitter App
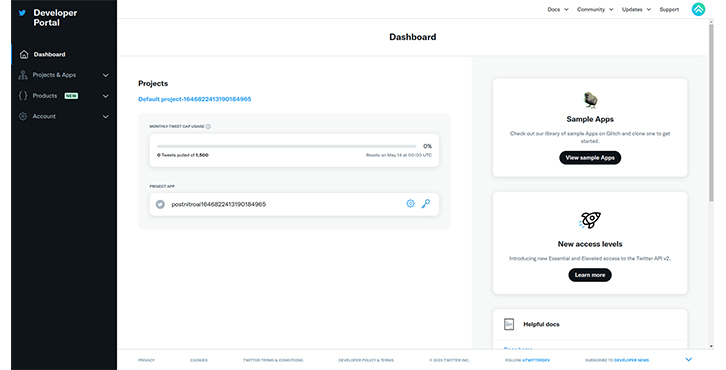
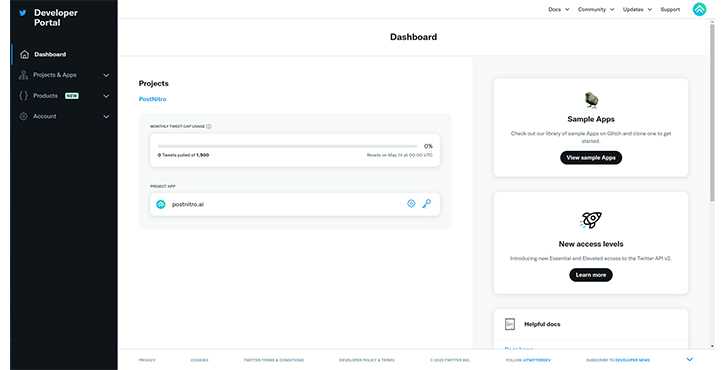
- Once your Twitter Developer Account is approved, you'll be taken to the dashboard. Now, let's set up your app.
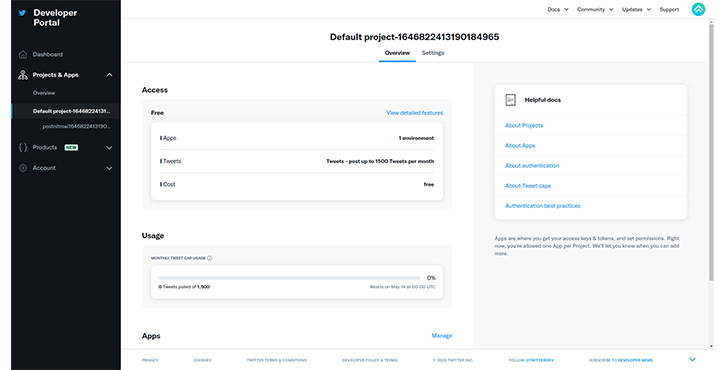
- From the left side menu, click on "Projects & Apps" and select the "Default project-123xyz.." label.
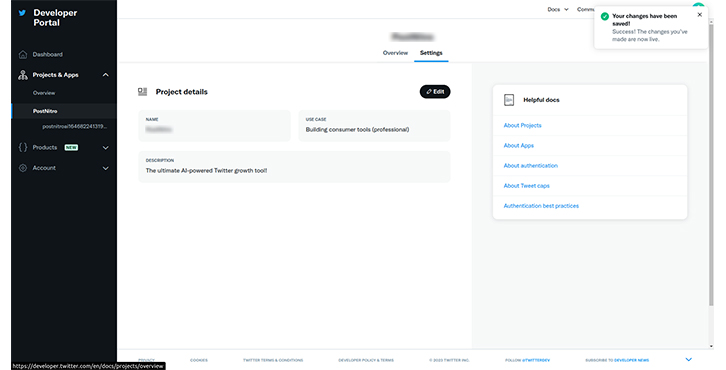
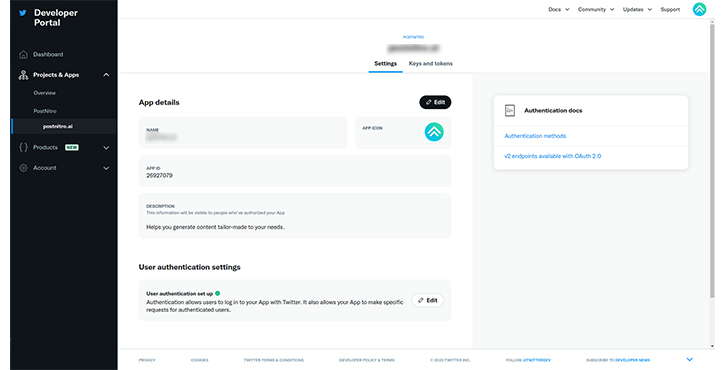
- Go to the "Settings" tab, click on Edit, and add your project name, use case, and description. These details don't have to be specific to Storefries; you can personalize them as needed. Click on Save when done.
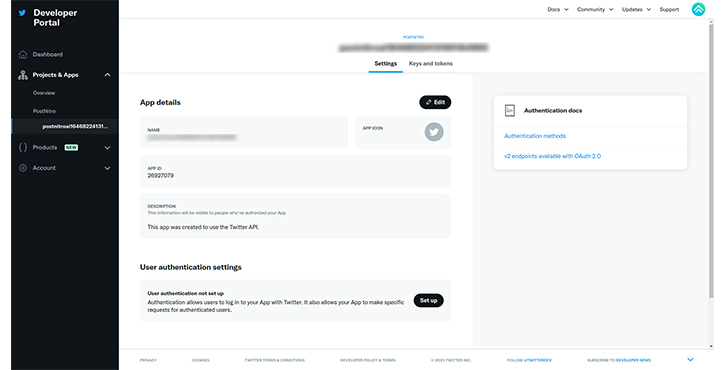
- Now, select the application name displayed under the project name you just edited.
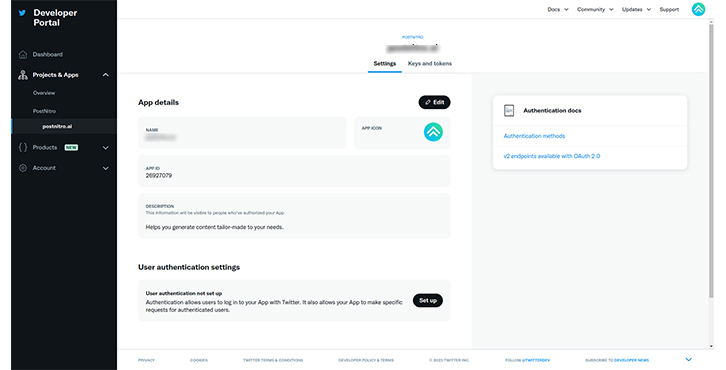
- Edit the "App details" by providing the name, app icon, and a short description of your application.
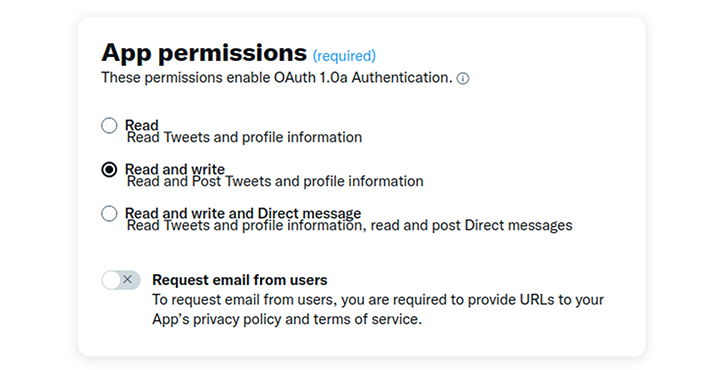
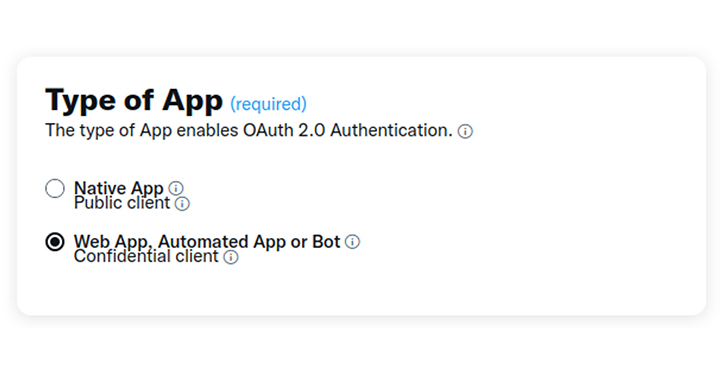
- Edit the "User authentication settings":
- Select "Read and write" permission for app permissions.
- Choose the appropriate type of app: Web App, Automated App, or Bot.
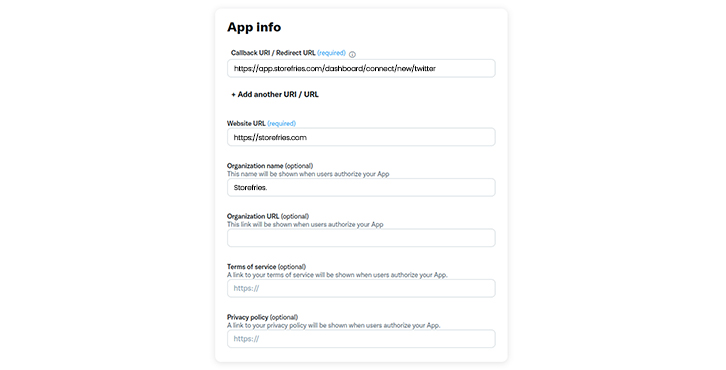
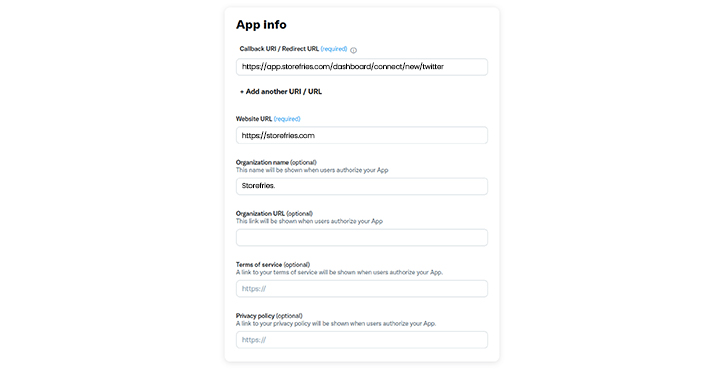
- Add the callback URL of storefries (https://app.storefries.com/dashboard/connect/new/twitter) in the "App info" section. You can also provide your website URL ( https://storefries.com)if required.
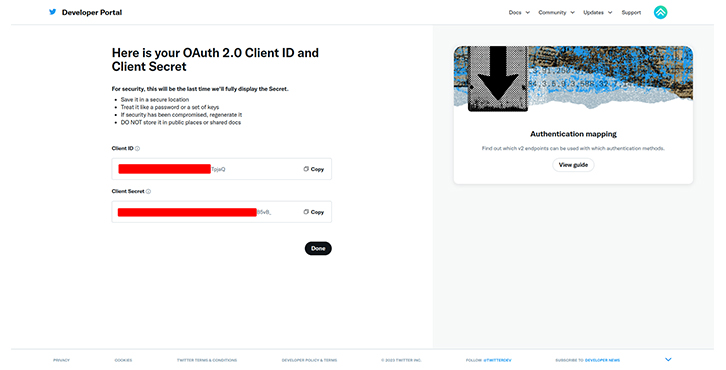
- Click on Save! Upon successful completion, you'll be shown the OAuth 2.0 Client ID and Client Secret for your application. Copy and save them in a safe location, in the future, they would not be shown in full and would need to be regenerated if there is any mistake.
Step 3: Connect with Your Custom Twitter App
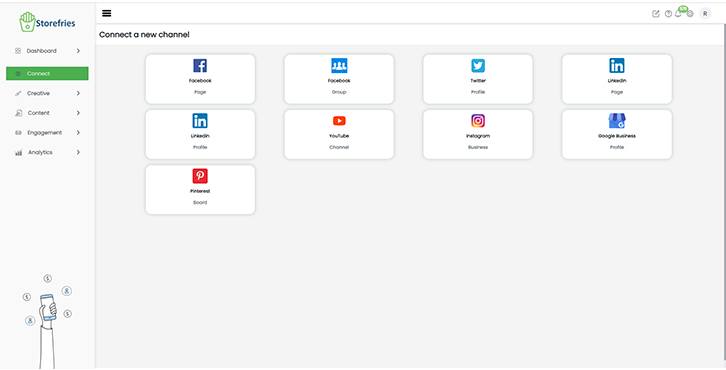
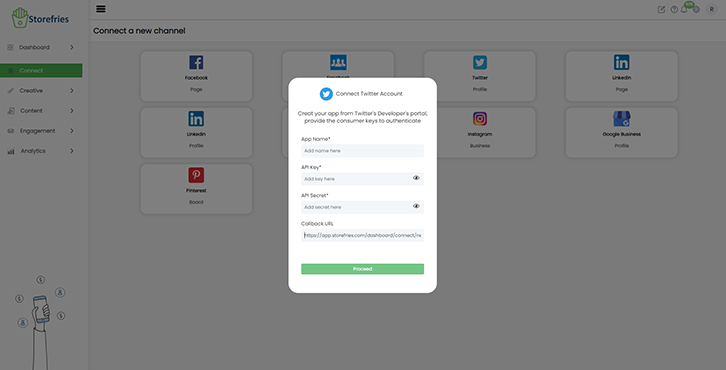
- Log in to Storefries.
- Click on the Connect and select twitter channel.
- In the modal that appears, you have to enter the Twitter App's name, API Key, and Secret in the provided text fields.
- In a different tab, go to https://developers.twitter.com and click on "Developer Portal". From the left side menu, click on "Projects & Apps", select your project and app.
- Click on the "Keys and Tokens" tab, and under "Consumer Keys", click on "Regenerate". Copy and paste these generated keys into storefries.Copy and save these generated keys in a safe location, in the future, they would not be shown in full and would need to be regenerated if there is any mistake.
- Add our Callback URL to Twitter:
- Copy the callback URL for Storefries : https://app.storefries.com/dashboard/connect/new/twitter
- On the "Settings" page, find the "User authentication settings" section and click on Edit.
- In the "App info" section, paste the callback URL in the "Callback URL/ Redirect URL" text field and click on Save.
- Go back to Storefries and click on Proceed to start the authentication process.

That's it! You're now ready to make the most of your custom Twitter App with Storefries, enabling you to create and manage engaging content effortlessly. Happy tweeting!
Page Views: